Tiny Jukebox – quick guide
Deutsch
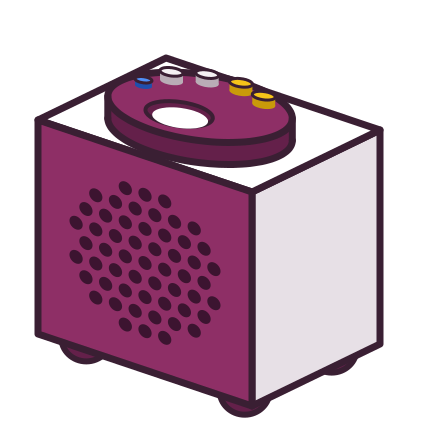
1. Front: listening
1.1 Tag
- place it: the album continues where it stopped
- take it off: stop
- louder / quieter – hold: fine steps
- next: next track
- back: start of the track – in the first 10 s: previous track
- hold back for 1 s: album from the beginning
1.3 Light
- green: ready
- blue: playing – blinking: the album has ended
- white/blue: pause
- green → aqua → blue: fetches the album, or the radio starts
- yellow: tag without an album
- red, blinking: album broken
1.4 Headset
- pairing: headset into pairing mode, then hold next + back for 5 s – blinks blue, white = done
- afterwards: switching the headset on is enough, sound in the headset only
- headset off: pause – press next: speaker
1.5 Off
- with the switch on the back
1.6 Phone (app)
- tag on the back of the phone: plays like on the box – or tap a tile
- the same light as a band at the top of the screen
2. Back: web page
- open in the same WLAN, confirm the security warning, log in
2.2 Tabs
- Now: what is playing, pause, track, volume
- Tags: place a tag with a click
- Upload: enter the title of the album, choose MP3 files → "Create album"
- New tag: place it → "Now" → choose an album → "Link & play"
- Radio: create a station, assign it to a tag under "Tag management"
- Spotify: paste a link of the Spotify app, assign it to a tag under "Tag management"
- Bluetooth: pair a headset, battery, maximum volume
- System: password, users, library, version