9 Lay out the board
After this step your board is placed, routed and checked, in EasyEDA Pro or in KiCad.
What you do
Install the program you chose once: EasyEDA Pro desktop with Node 24, or KiCad 10. For EasyEDA you create the project by hand, File → New → Project, with your project's name. Its interface cannot do that. With KiCad there is nothing to create: Claude writes the project.
Then start a new session and type /edakit:pcb-round. Claude works from what the last steps handed over. It plans the
places and checks the plan offline:
$ edakit pcb plan
…
  4 fixed parts, 0 for the auto-layout; airline length of the fixed parts (without GND): 0.02 m
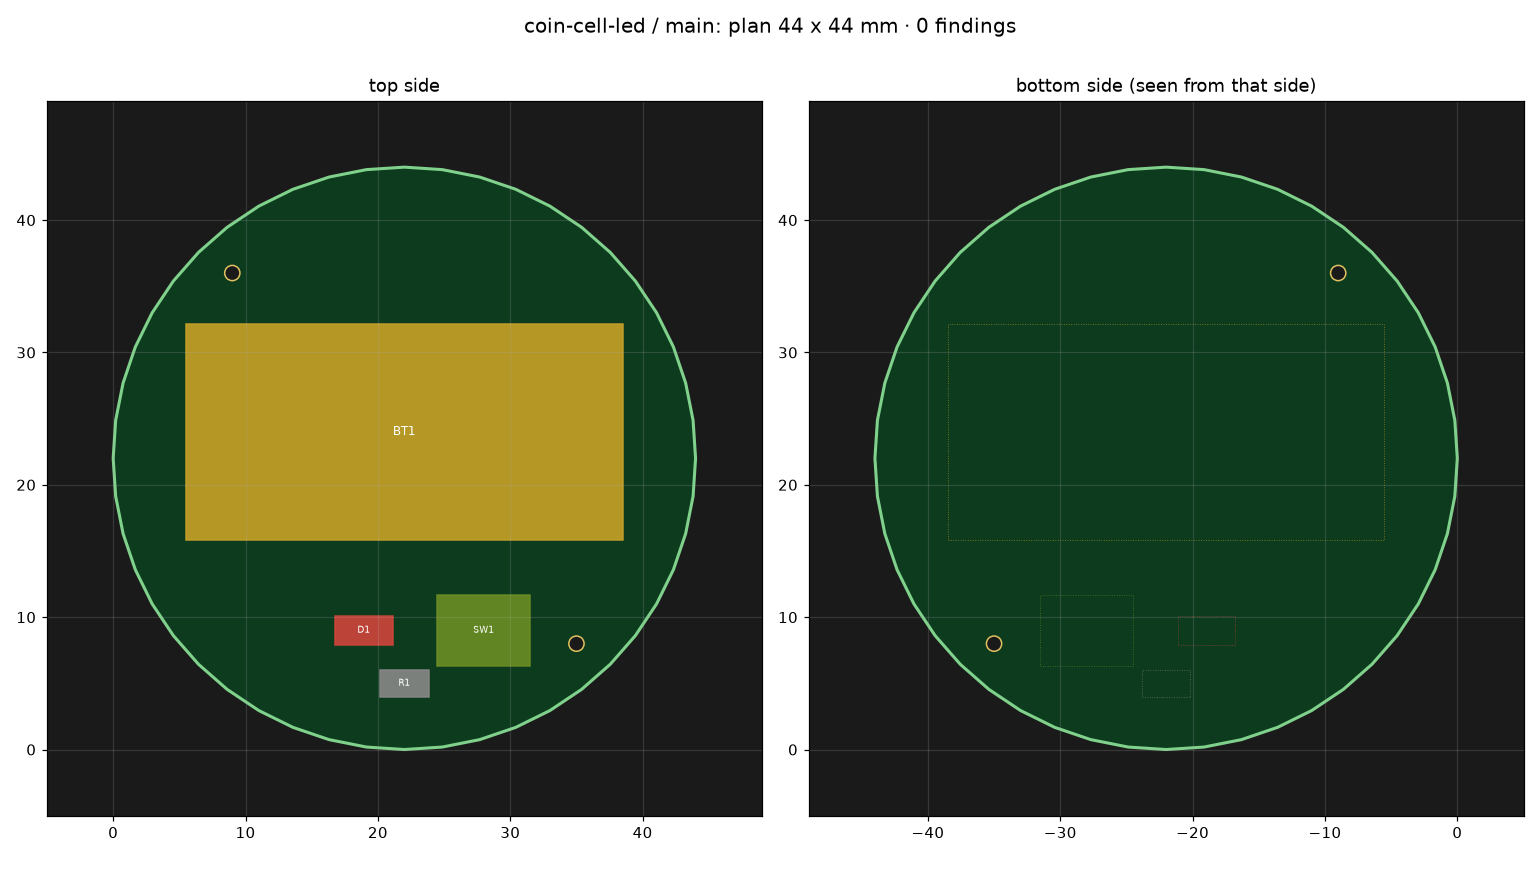
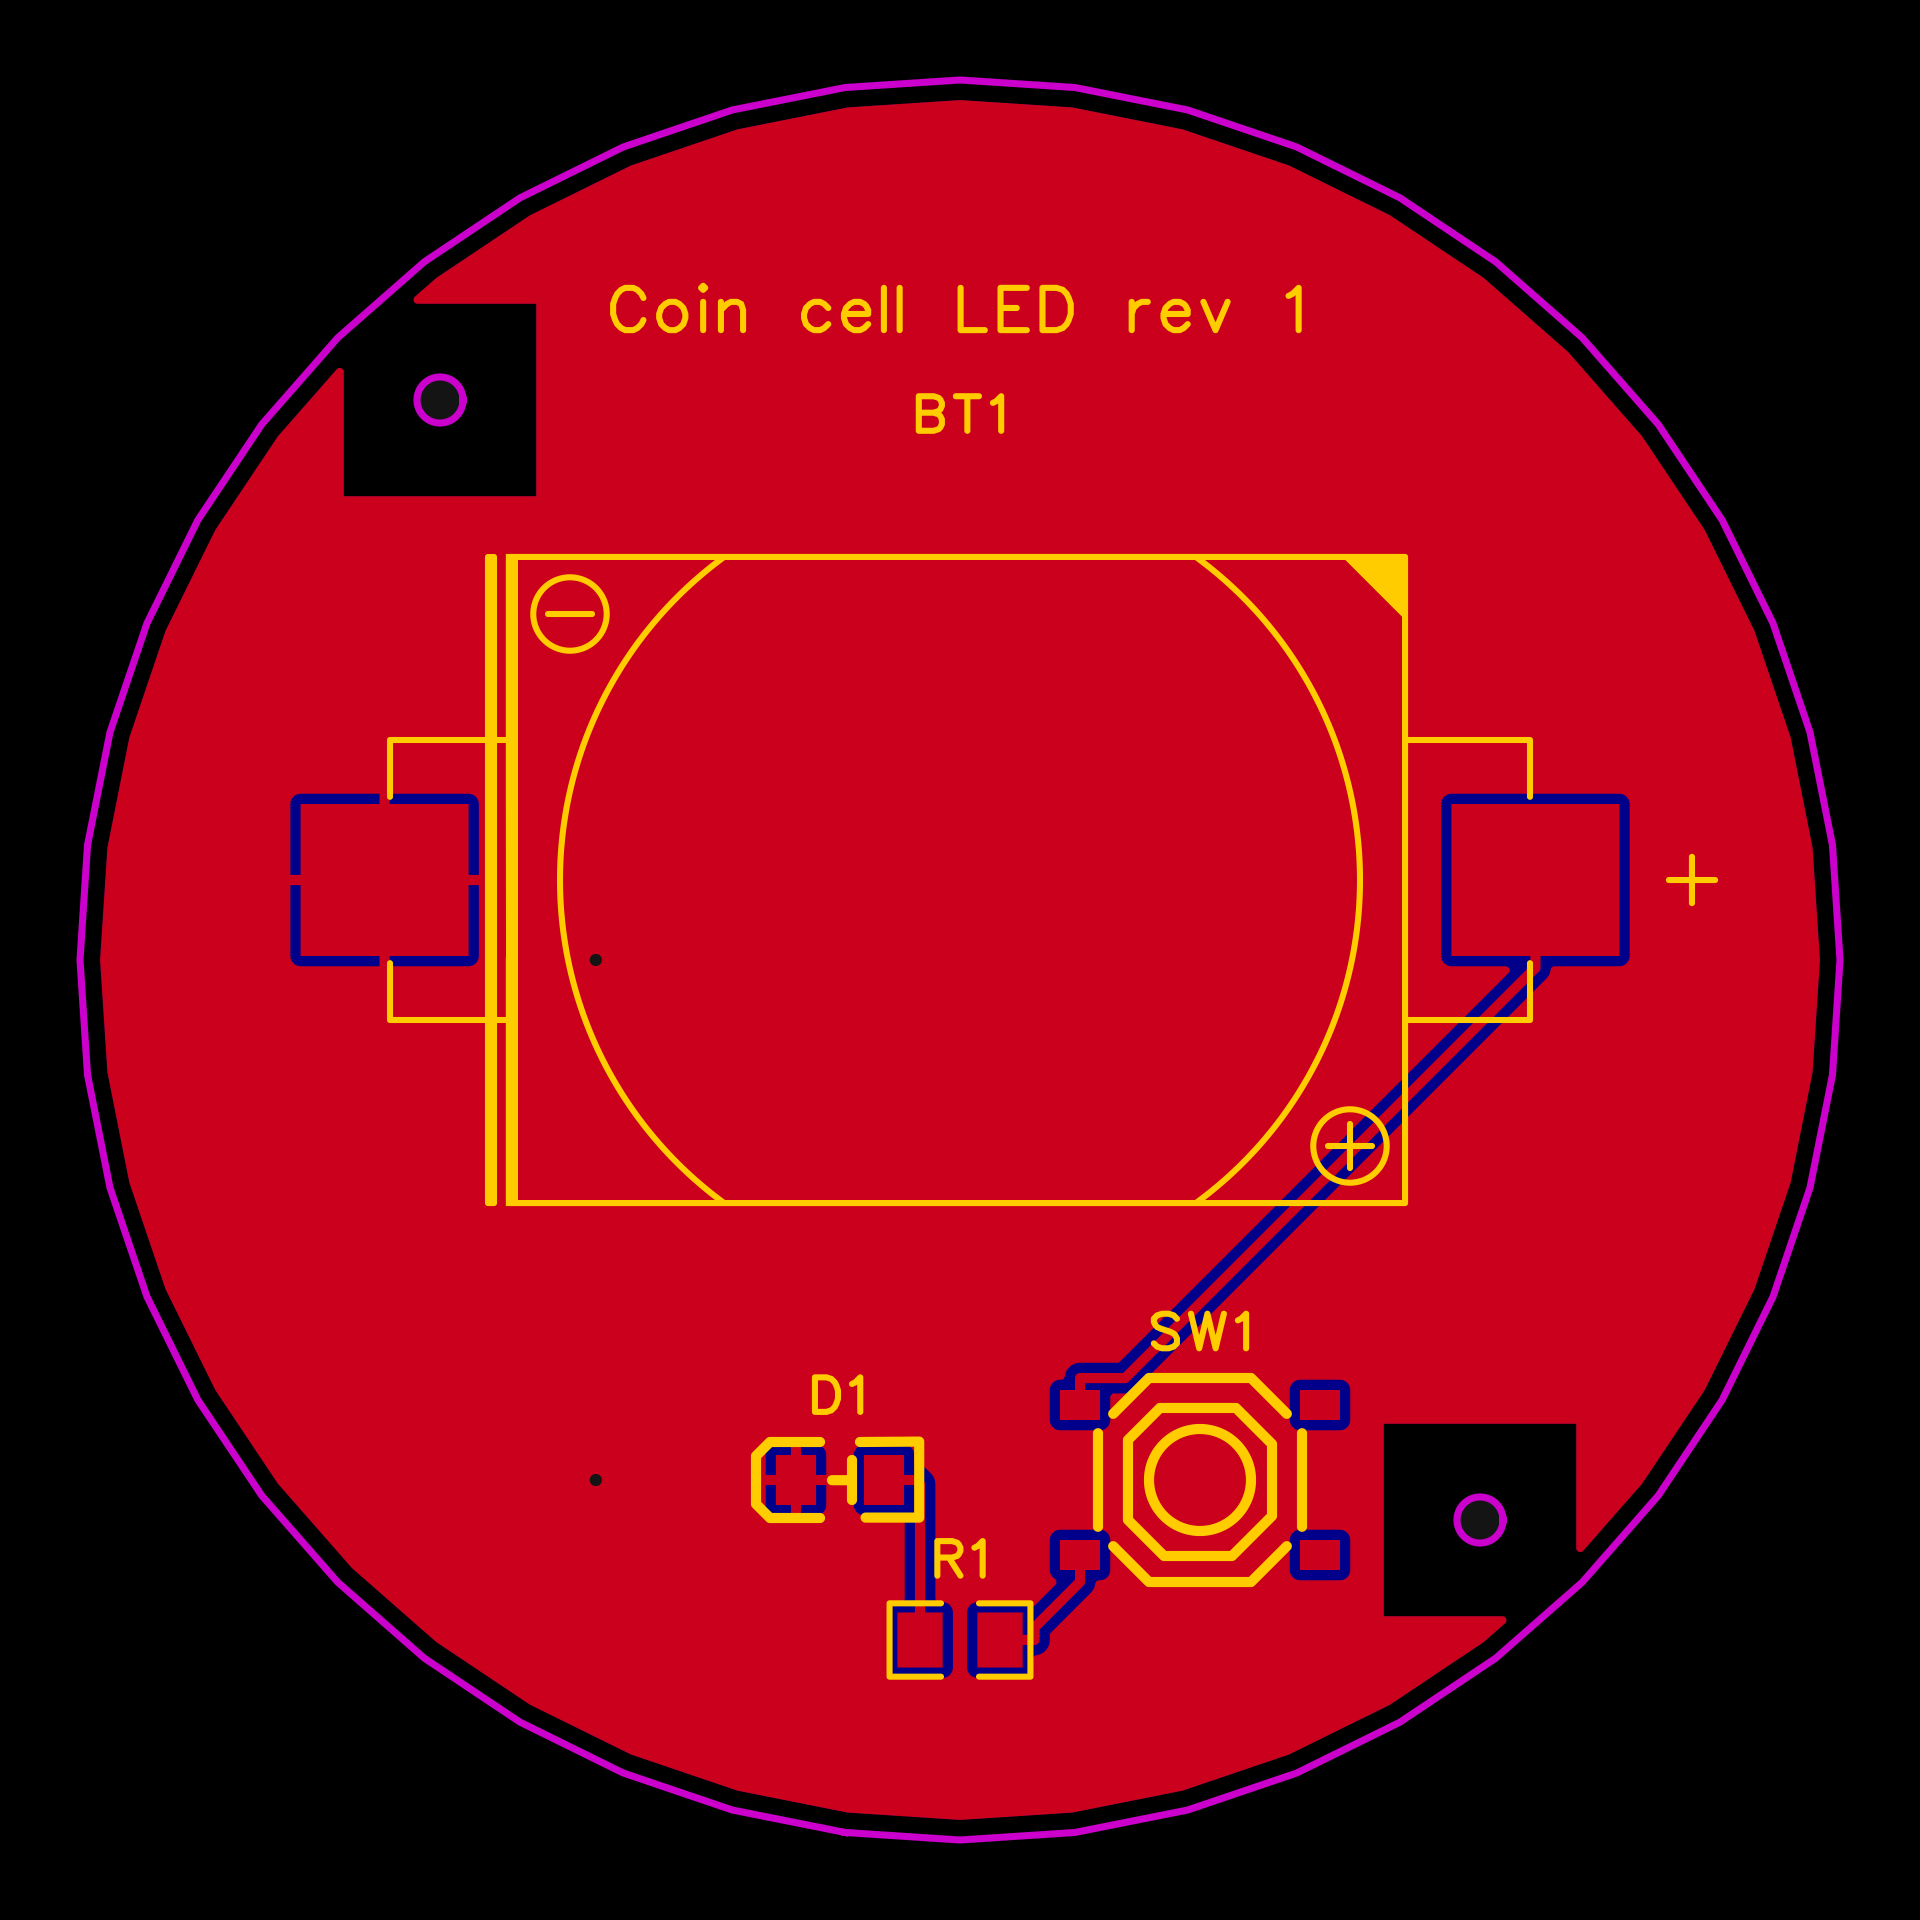
Then it places the parts, routes with Freerouting, pours the ground, prints the labels and runs the design rule check. In EasyEDA you click nothing here: edakit writes what EasyEDA's import would set. Only if its check still waits for the import, Claude asks you for one click: Design → Import Changes.
What you are asked
What only you can say: the board's size and shape, its holes, where the parts go that a person touches, and how it looks. In the walkthrough you wanted it round.
What you decide
Looks, size, holes and colours. A wish for the board stays in the board's file. A wish that changes the circuit goes back to the circuit, through its own steps.
What you have
hardware/boards/main.toml, the board as text, and the board itself in EasyEDA or KiCad. The reviewer pcb-reviewer
reads it next. Next: Order the board.
Read on
- The walkthrough: EasyEDA and the layout
- The handbook: PCB